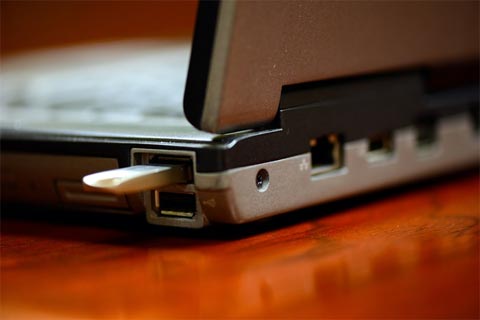
Plug your Webcloak device into any open USB port.
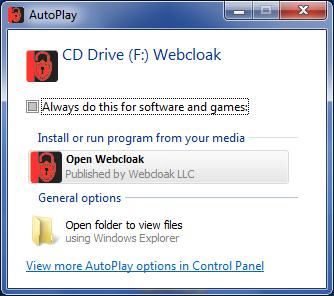
On some systems Webcloak will automatically start. If Webcloak automatically starts then skip to step 3.
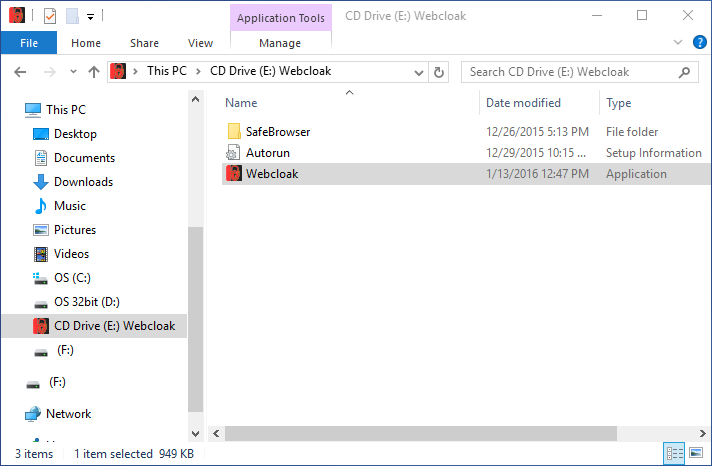
Find the "AutoPlay" pop-up and select the "Open Webcloak" option.
If you check the "Always do this for software and games:" option, the next time that you plug in your Webcloak device you will not see this pop-up and Webcloak will launch automatically. This feature can make you vulnerable to malicious USB devices and is not recommended.
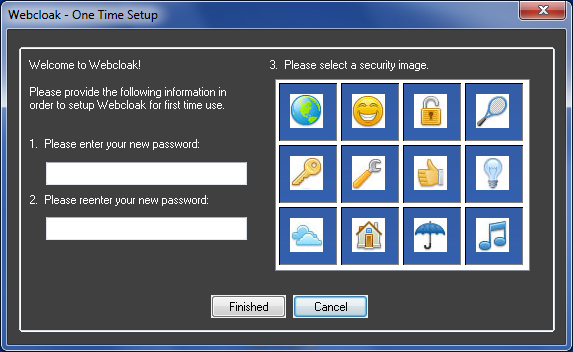
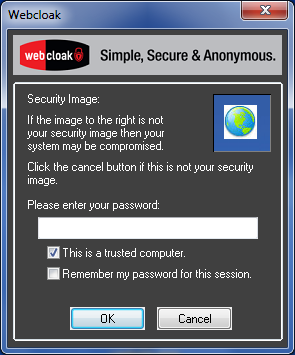
Provide a password and select a security image from the list of images. The security image that you select will be displayed on all Webcloak prompts. If Webcloak asks for your information and you DO NOT see your security image then your system may be compromised.
Select a password that you will not forget. If you forget your password you will not be able to access your Webcloak device.
Check your security image and if correct, provide your password.
"This is a trusted computer" - If you are using your own computing device or a device at your office then you may select this option. When checked, you are able to backup and restore your Webcloak device.
"Remember my password for this session" - This option is only available on "trusted computers". When checked, you are able to access your Webcloak device functions without being asked for your password. Certain functions such as "Locking" and "unlocking" or backup and restore will still require that you enter your password.
You have three tries to enter your correct password. If you fail you will have to unplug your Webcloak device and try again.
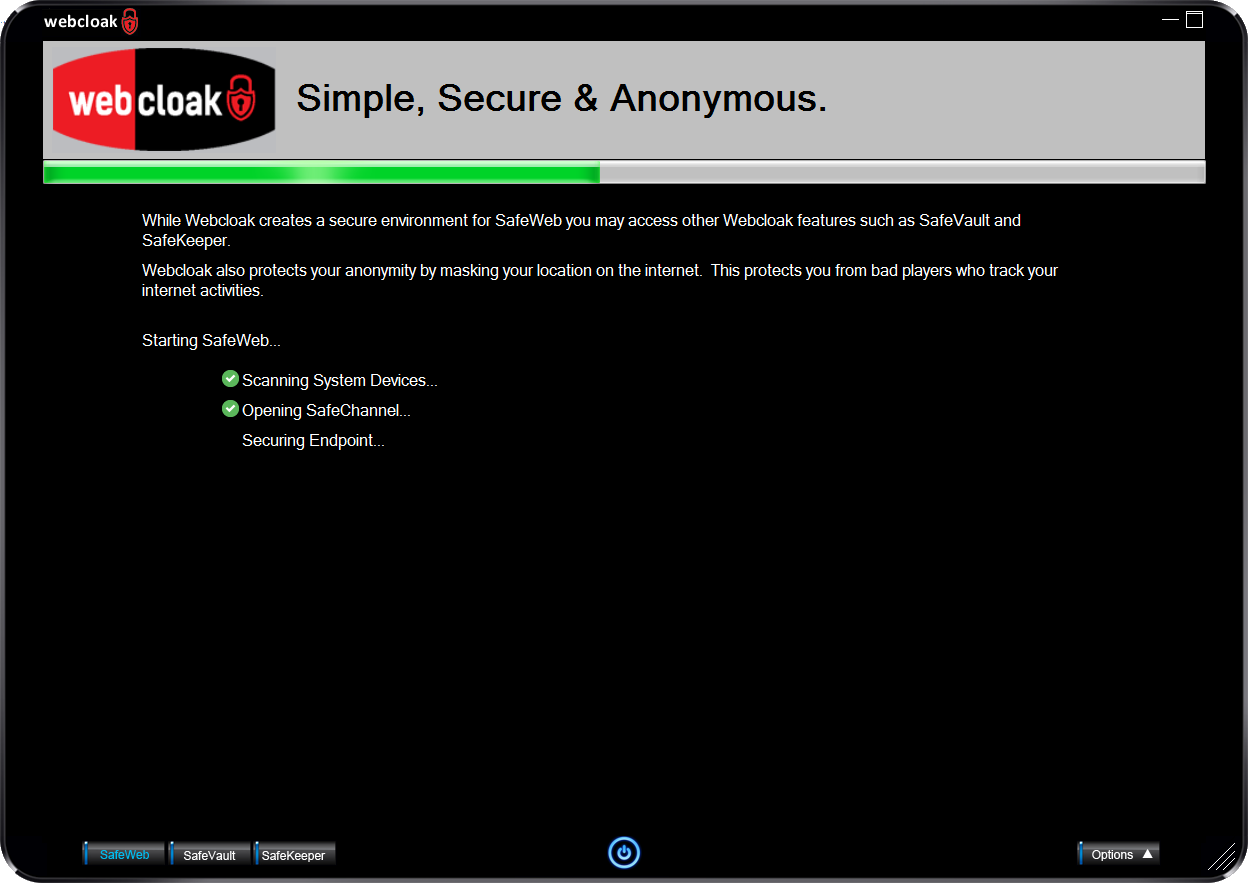
Webcloak will now create a secure environment and will initialize SafeWeb for first time use. Be patient, this may take several minutes. If after several minutes you don't see the SafeWeb browser then Click here for assistance.
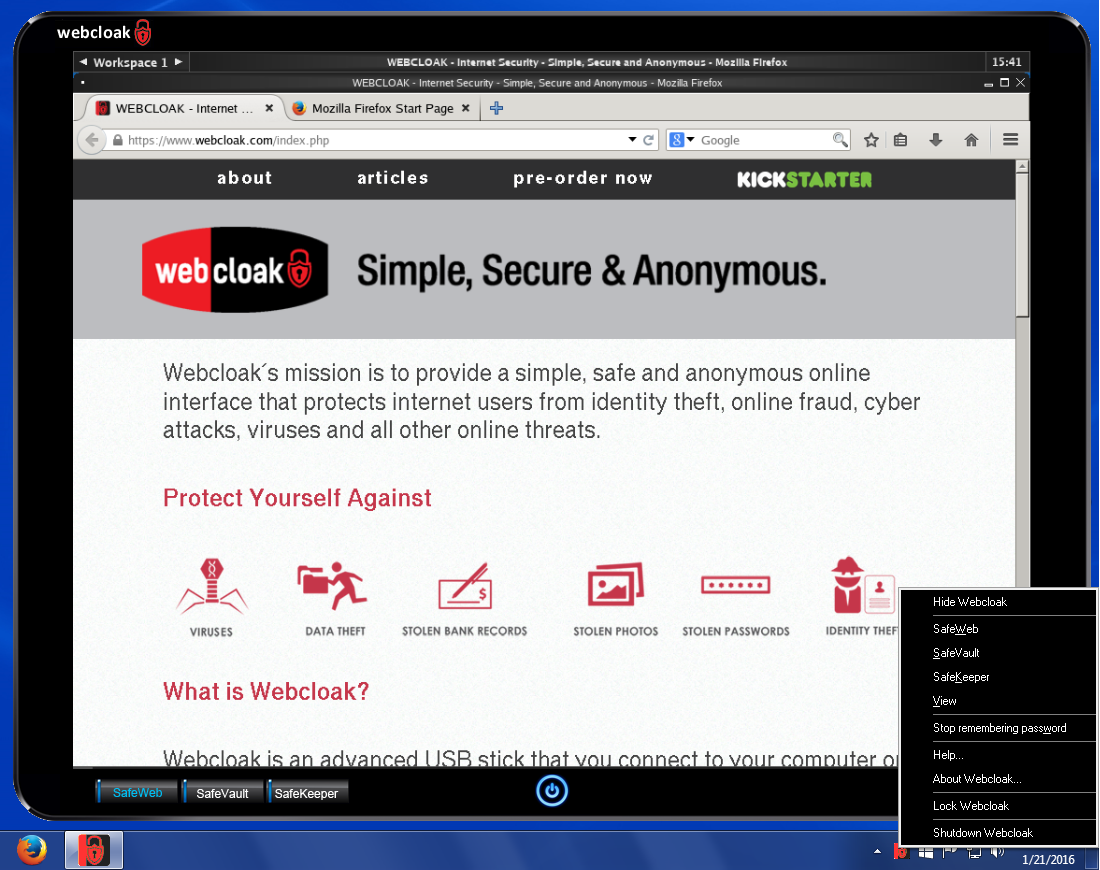
You can access the Webcloak menu by right clicking on the icon in the notification area (tray) or by clicking the Options button.
You can show or hide the Webcloak application by either double-clicking on the tray icon or by using the left control button and shift key on your keyboard.
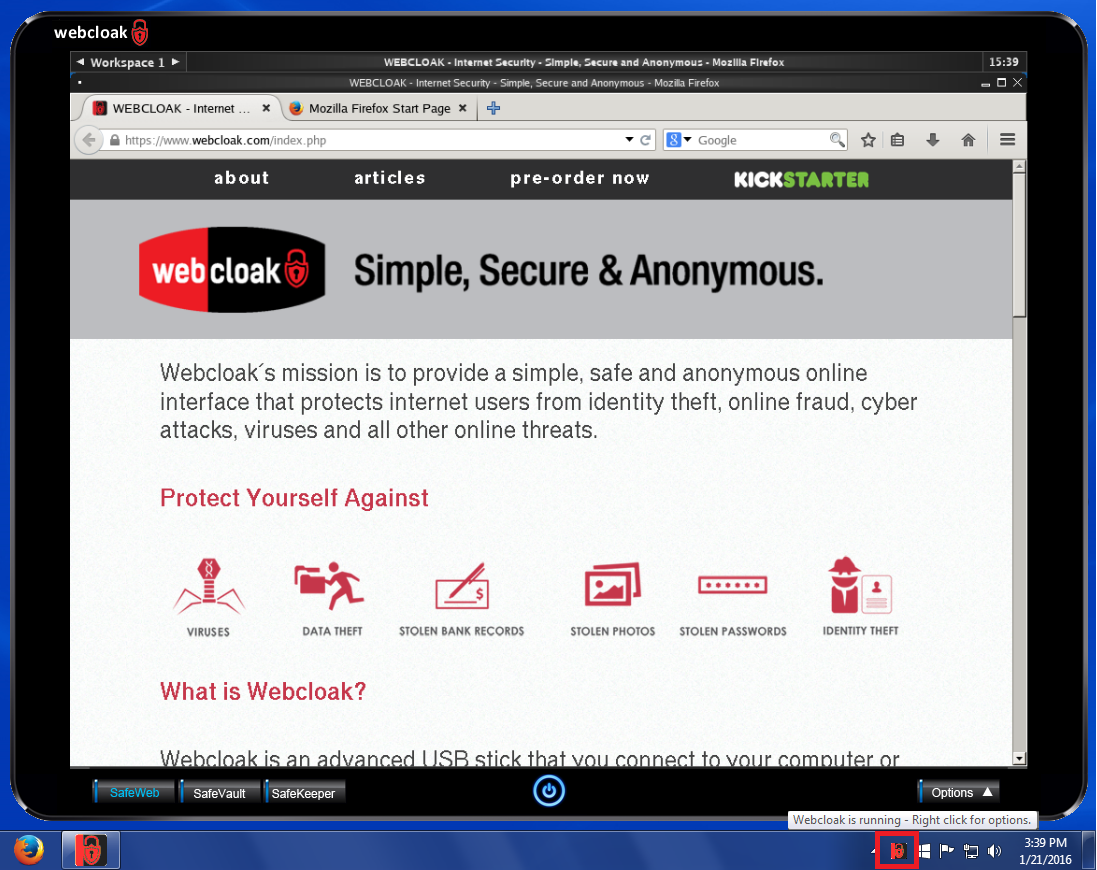

Once your Webcloak device has completely initialized for the first time and you can view the browser you should save your Webcloak settings by clicking on the Options button and selecting "SafeWeb, Save changes...". It may take a minute so please be patient.